Authentication & Registration
The portal uses a modified version of the default Laravel authentication
routes. In general, these routes aim to manage the Database User
(\BristolSU\Support\User\User) in some way. For example, the Login
route will log in a User. The register route will create a new User.
Nearly all these routes will end up logging in a user in some way then
redirecting to the portal.
This page will go through each of the routes and explain how each one uses the SDK instead of the default Laravel framework.
Most of the way the features described on this page work can be changed through site settings. A list of settings can be found here. The most important setting is the registration identifier, as it defines what users can use to log into the site. This defaults to email, but could be changed to username (and paired with an additonal attribute of username). We will refer to identifier throughout this page, which is a string e.g. 'email', 'username' that defines the attribute on the data user model that is the identifier. Identifier Value refers to the given value by the user e.g. their email , username…
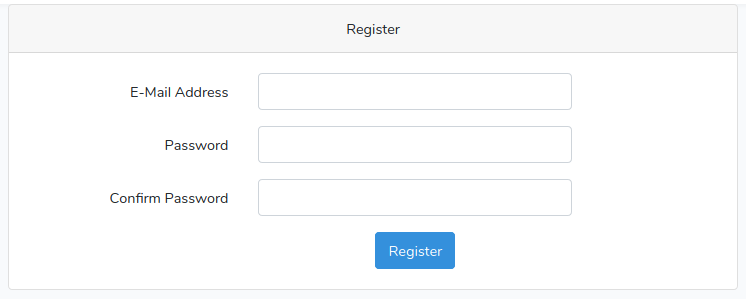
Registration
The RegistrationController is responsible for showing the registration page, and registering a user when submitted.
The Registration page requires an email (or some identifier, see intro!) and a password.
When filled in and submitted:
-
We first validate the request. The validation rules are editable through site settings.
-
We then register the user
-
First, we get or create a data user. We try and find one through searching for a data user with their identifier matching the identifier value. If they’re not found, we create them and save the identifier value. This behaviour can be overridden in site settings, so that an error is thrown if they’re not found.
-
We then get or create a control user from the data user ID. Again, if not found we create it, or throw an error depending on the settings.
-
We then create a database user. If a database user with the given control ID already exists, we throw an 'already registered' error. Otherwise, we create one and save the password.
-
-
Having registered a user, we either fire a registered event, or a child of registered event (UserVerificationRequestGenerated) if the settings call for email verification. The latter is caught in the event service provider, and triggers the custom VerifyEmail notification.
-
We then use the UserAuthentication contract to login the user, and redirect to the welcome page.
Login
The Login controller is responsible for showing the login page and logging the user in.
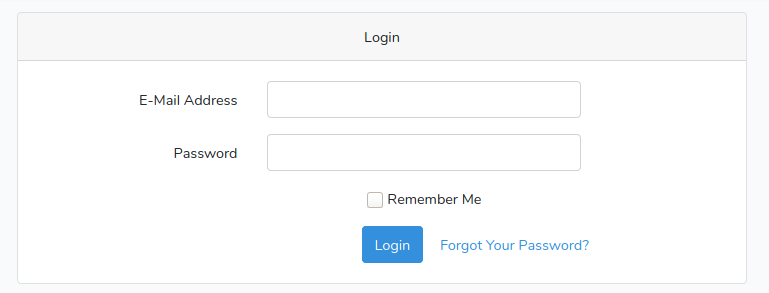
The login page asks for an identifier and password. When submitted, it uses the default login experience to log in a user using their email and password. That is, it
-
Validates the request (makes sure a username and identifier have been given and are strings)
-
Throttles login attempts.
-
Attempts to log in using the laravel guard
-
Return an error or redirect to the portal
Throughout this process, we reference the identifier as a username() function, and set that to return 'identifier'. We are able to use the guard because we’ve created a UserProvider to validate and retrieve by credentials based on site settings.
For now, we rely on the sdk using the guards it does for the user authentication implementation. We could override these in the portal, or review how the sdk uses the implementations and if it should.
Throttling should be put into normal middleware
Verification
Whether or not email verification is required can be set using the site settings. When accessing the portal, the custom EnsureEmailisVerified middleware checks to see if an email needs to be verified. This actually checks
-
Is a user logged in
-
Is verification required from the settings
-
Has the user verified already?

If a user needs to verify their email, they are shown this page. When a user registers, the UserVerificationRequestGenerated event sends the VerifyEmail notification to the user. The same happens when the 'request another' link is used.
The Verify Email notification is sent via mail, if the user has an
email. It uses the linkeys-app/signed-url package to provide a
secure URL to take us to the authorization page. The notification is
sent through the Laravel Notification framework, and when the link is
clicked, Linkeys takes care of validating the signature and retrieving
the data. It checks the user ID saved in the URL is the same as the
currently logged in user, then marks the email as verified and redirects
the user.
Forgot Password
The forgot password route is used for resetting a password. When clicking on 'Forgot Password' from the login page, you are taken to the page for forgot password.
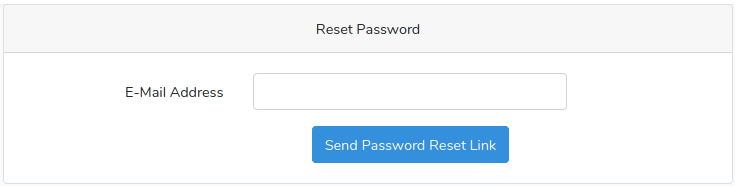
You are asked for your identifier. This is then
-
Validated, against the validation settings from the site settings
-
The password broker, tied to the password reset table, uses the custom user provider to send a reset link. The user provider returns the database user, which has the necessary interface/trait to work with the laravel framework. Since the default notifiable is used, we have to send an email in the url as opposed to the identifier.
-
A response is sent to tell the user what to do next.
The password broker should be replaced by Linkeys
Reset Password
You normally get to this page through the link in a reset password email.

The page checks an email has been included in the request as per the laravel authentication framework, then gets the identifier from this email.
To get the identifier, it first checks the settings to see what identifier it should be. If email, it just returns the email. If not an email, it gets a database user by email, then retrieves the additional attribute with the key of the identifier,
Having got a value for the identifier, we then pass it to the form along with the token.
The identifier will be prefilled, so when the new password is typed in and submitted, the default authentication flow resets the password using the broker. We just provide overrides for methods involiing the 'email' string, so we provide the rules to validate the identifier and password based on settings, a method to retrieve credentials (i.e. the identifier) and a method to send a failed response to attach errors to the session with the 'identifier' key.
Confirm Password
Although this is not in use yet, it may be in the future. If we want to protect a page with a required password confirmation, we can add the 'password.confirm' middleware.

This will redirect them to a page if they haven’t recently confirmed their password, which will ask them to confirm their password. Once 'Confirm Password' is clicked, the user will be able to bypass the check for a while.
This uses the default throughout. This does mean it relies on the laravel validation 'password' attribute, but there are no plans for this to become a problem.
Welcome
When you register (and verify your email if necessary), you are redirected to a welcome page instead of the normal portal homepage. This is to provide the user a chance to see the information that is held on them in the database, and allow them to edit it (with restrictions defined in the settings).
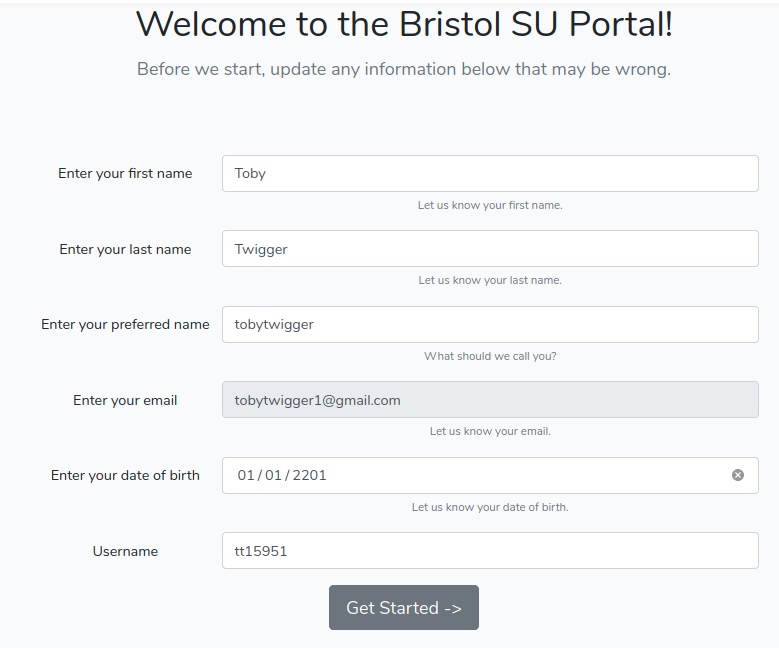
As well as being able to turn the questions off altogether, you can control each individual attribute. The top 5 are normal attributes, and you can control if they are hidden or visible, editable or protected (like email) and required or not.
We need to implement some middleware that checks the required attributes have always been filled in, or redirect here otherwise.
Clicking Get Started updates your user using the control API, then redirects to the portal.
Social Authentication
The portal allows users to log in through a number of different social accounts. These use socialite behind the scenes, which makes the login very easy.
These providers need to be set up, by
-
Adding them to 'services'
-
Adding the environment variables to .env
-
Adding the key to resources/js/management/settings/third-party-auth/EnabledProviders
-
Adding a class to resources/sass/socialbuttons.scss
The allowed providers can be set in the settings. If someone tries to log in through a disabled provider, an error will show. Otherwise, we return the redirect() function from socialite and let it handle the login.
Assuming the environment variables are correct, the callback function will be called. This
-
gets the socialite user from the given provider
-
gets a database user.
-
Gets a data user from the email of the social login, or creates it if settings allow
-
Gets a control user from the data user, or creates it if settings allow
-
Gets the database user, or creates it if not found. If created, it sets email_verified_at to the current timestamp.
-
-
Log in the user using UserAuthentication
-
Return the user to /welcome if they are new, or /portal otherwise.
Social login should fail if no email, or better ask for an email but require it to be verified.
Because of the reliance on email for social login, if a social provider does not have an email attached to a user account, the portal will always create a new user. Ideally, we’d like to be able to control linked social accounts using the providers user id. This way, emails can change but once a specific social account is attached to a normal account (and they will still attach by default if the same email), then the same login will always access the same account.